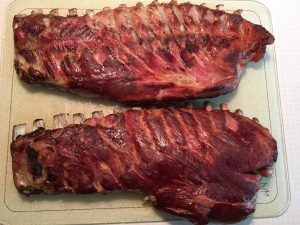
Adapting commercial practices to home cooking has once again proven to be simple, economical and very worthwhile. Pictured above are my first ham casing, smoke-cooked spareribs. They were delicious, and hopefully with practice I can make them look even more appealing next time.
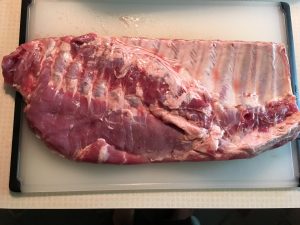
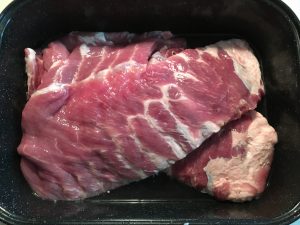
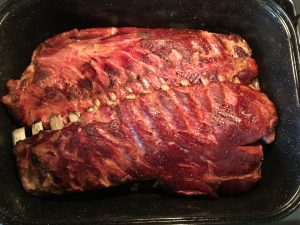
Pictured is one of the two large racks of spareribs that I prepared. I removed the body cavity membrane and left the membrane striped skirt meat attached to the racks.
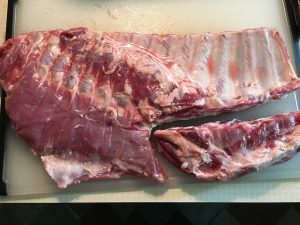
Wiggle the sternum by hand, to locate where it adjoins the rib bones; then easily cut the sternum from the rack by cutting through cartilage.
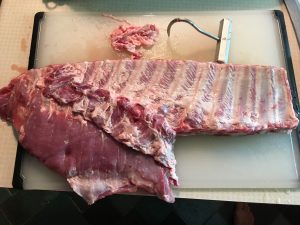
Here we have my version of membrane striped and boney sternum removed spareribs.
As with most mainstream modern spareribs, these ones had been meat plant enhanced with a water, salt and a microbial inhibitor solution. I dissolved a small amount of roast sodium phosphate in about two cups of water then poured that mixture into a roasting pan so both slabs could marinate overnight. I overhauled (moved the ribs around) the ribs a few times during the marinating period. If the label on your spareribs say anything other than “Natural,” they most likely have already had sodium phosphate added to them. Read meat product packaging labels closely.
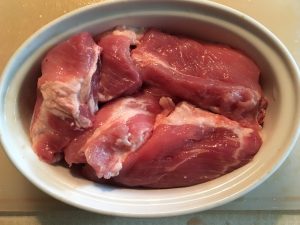
I cut & broke the separated sternums into smaller pieces and placed them in an oven safe glass bowl for oven cooking.
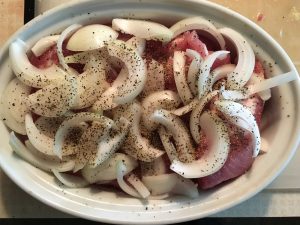
Some coarse chopped onion and a little pepper were added; then the sternum pieces were covered tightly with foil and placed in a 250F oven. After they cooked tender, we picked through them and ate them with mashed potatoes for an enjoyable supper.
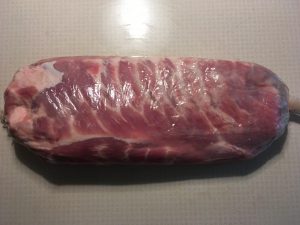
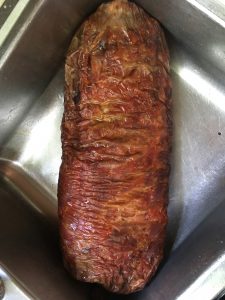
Early the next morning I soaked a fibrous ham casing in warm water for a half an hour. A small amount of prauge powder #1 was added to the soak water to guarantee a nice faux smoke-ring. Both spareribs were then stuffed into one ham casing; in a bone to bone position..

Ribs were smoke-cooked for three hours with on one side, then the smoker was opened and the ribs were flipped and went three hours with the other side down. I thought of suspending the casing full of ribs from the smoker’s link sausage rack, but wanted to try doing them the easiest way first.
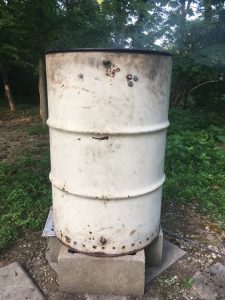
For those unfamiliar with the Wolfer smoke-cooker, this shows what the unit looks like when its operating with its shroud in place.
After 6 total hours in the smoke-cooker, the casing full of ribs was pulled from the outdoors and soot was rinsed from the casing’s exterior. Then the casing was striped off and rib slabs were placed in a covered oven roaster to finish cooking for 1 hour at 250F. Also, they were sitting on a rack; in order to prevent any washed-out liquid-cooked characteristics in the finished product.
This is what they looked like fully-cooked. During the last 7 minutes of cooking, the lid was removed and the oven broiler was used to help brown them up nicely.
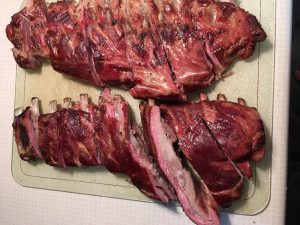
Sectioned, succulent, mouthwatering to smell and showing a heavy faux smoke-ring on the meat side. They ate great; no expensive rubs or juiciness adding BBQ sauce were needed. Simple smoked pork goodness.