My wife and I have been empty nesters for quite some time, but our upright freezer seems to run out of meat now quicker than ever before. That fact is likely due to our 3 daughters periodically free shopping there. I don’t mind because we can afford it and I’m glad to see them eating high quality, minimally processed meat.
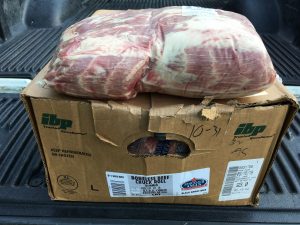
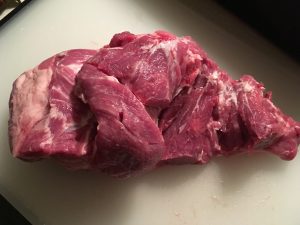
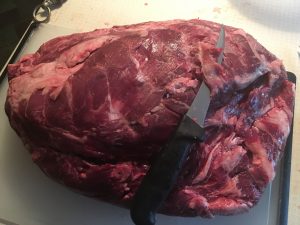
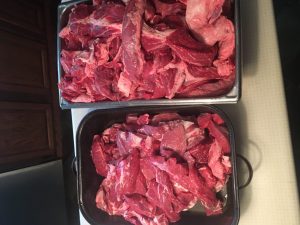
After work last Friday I stopped by our local Sam’s, picked a two pack of butts out of the coffin case then requested a wholesale box of Choice chuck rolls. My mind was set on blurring the line between pulled-pork and sausage; I was also looking to fabricate good London broils and fairly lean Choice ground beef. It’s been my experience that boxed beef catch weights normally run in the 60 to 80 pound range. The 93 pound box of chuck rolls pictured here may well be the heaviest one I have ever seen. There were 4 pieces turned on edge and the ends of the case were bulging out. Oh well, it takes the same amount of clean up when further processing either a little or a lot.
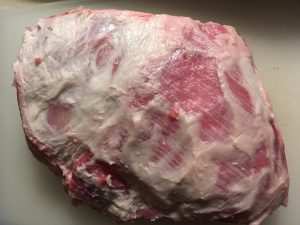
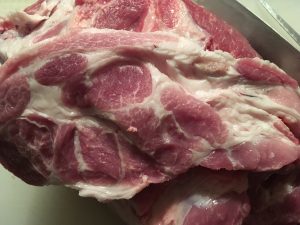
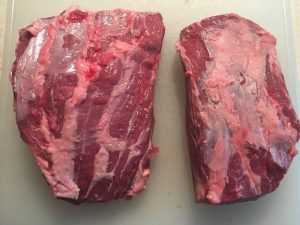
Starting with the butts, subcutaneous fat was trimmed to not more than 1/8 of an inch thickness in any one spot.
Go over the lean side well, looking and feeling for bone-skin from where butts were separated from neck bones. A 5 inch curved boning knife is slid under bone- skin in this pic. Also feel for bone fragments that may have became embedded in the fat side from when the roast was on the meat plant cut fabrication line.
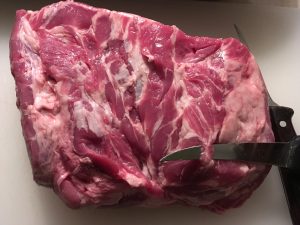
A 6 inch, straight, stiff, narrow blade boning knife was used to expose the blade bone on the lateral side of the butt.
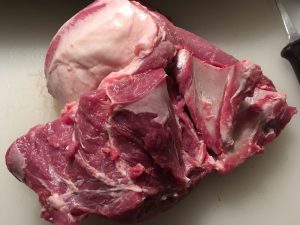
Roast was tuned over and the flat side of the blade bone was followed to complete bone removal. Look and feel all around the pocket where the blade bone was removed for bone chips, bone skin or tough connective tissue that needs to be removed.
On the top – right side of this pic you can see a bisected lymph node. There is only one lymph node in butts, learn where to check for and remove it.
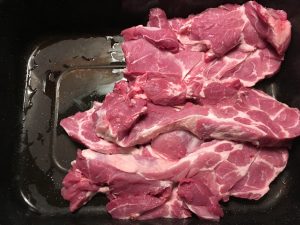
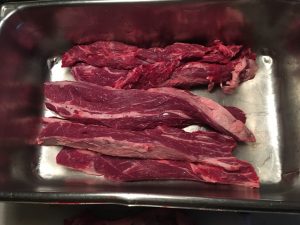
One boneless butt cut into strips that are small enough to easily feed through the meat grinder. Any heavy fat seams, exposed during cutting butts into strips, were trimmed thinner.
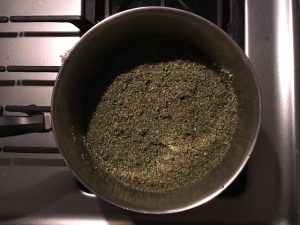
This shows the water, crushed fresh garlic, coarse ground black pepper and leaf marjoram needed for a 20 pound meat batch. It was boiled to take the bite off garlic, blend flavors and to knock down any bacterial spores the pepper and marjoram may have been carrying. Boiled spice blend was then placed under refrigeration to chill well prior to mixing with ground meat.
The two butt package yielded 14 pounds of water and salt enhanced, semi-lean meat. 6 pounds of beef was needed later on for a 20 pound meat batch; so pork went into the refrigerator and I started working the chuck rolls.
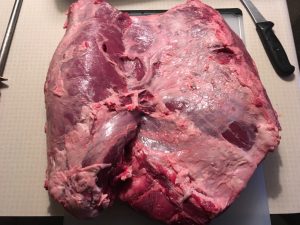
Knife blade is under tough bone-skin that was left during the meat plant removal of neck bones. Look and feel everywhere for such pieces of exterior objectionable material to be removed.
Follow the muscle seam to separate the under-blade from the true chuck-eye roll. Chuck-eye is on the left. I had ideas about gleaning tapered rib-eye ends and perhaps even Vegas Strip steaks from these chuck rolls, but the packer short cut them in order to leave more weight on the higher priced wholesale rib-eyes.
We are not chuck roast fans; so all chuck-eye rolls were stripped up for Choice ground chuck production. This shows the meat from one chuck-eye and the other non-roast muscle.
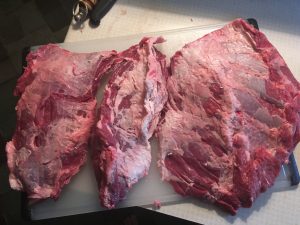
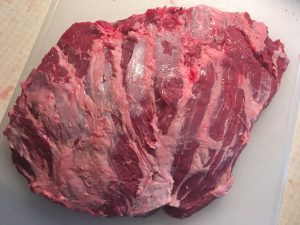
Here the under-blade section of a chuck roll is seam separated into its 3 major muscles.
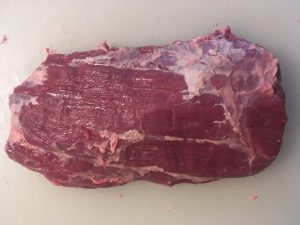
This is one of the three main muscle that the whole under-blade can easily be separated into. I like to refer to it as the faux flank steak; it makes a very good London Broil. There is another, narrower striated looking muscle that is best suited for grinding.
This is the third major muscle of the under-blade and where Denver Steaks are cut from. It makes up over 20% of a whole chuck roll, is semi-tender and comparatively highly marbled.
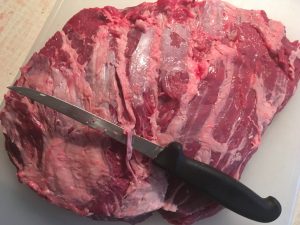
The knife blade is under a vein that is used by some to divide the Denver steak muscle into two pieces. The reason for dividing is to facilitate across the meat grain slicing.
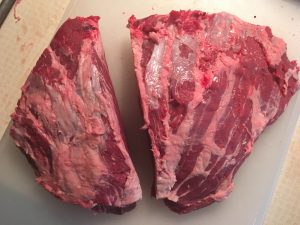
Separation completed.
Squared up roasts. These are great for smoke-cooking as one would brisket, London broiling, corned beef and pastrami production. The tapered edges of this semi-tender muscle went into my line blurring sausage/pulled P&B batch.
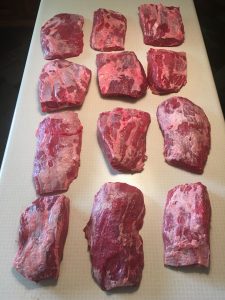
12 Roasts generated from 4 chuck rolls. The 4 faux flank steaks are best to London broil to medium rare then slice thin across the meat grain.
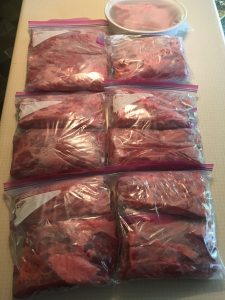
11 roasts double bagged and heading for freezer storage. The Denver steak muscle roast covered in the bowl was later pumped then smoke cooked.
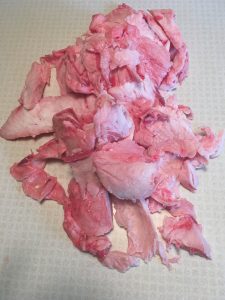
I discarded some of the heavy beef fat in order to keep Choice ground chuck fairly lean.
The smaller pan in the front contains 14 pounds of enhanced butt meat and 6 pounds of beef. Over half of the beef in the P&B mix was the tapered edges of the Denver Steak muscle. The rest of the P&B beef was clean muscle gleaned from the chuck eye. The larger pan in the back held close to 50 pounds of Choice chuck for grinding.
Back before raising hogs in confinement and on concrete became the norm, trichinosis (muscle worm infection) was much more common because hogs can pick up the parasite by rooting in the ground then pass it to humans via pork that was not cooked to a high enough temperature to kill the worms. Today, free-range pork and eating bear meat are the likely threats of contracting trichinosis. During roughly that same time period in meat history, people could safely enjoy eating rare to medium rare ground beef because slow cattle harvest in a multitude of small local plants was the norm. However, that all changed as high-speed cattle kill lines in high volume beef plants were shown to be much more efficient. E-coli (a fecal borne bacteria) must also be fully-cooked in order to be safe to eat. Having said all that, it is still considered proper protocol to work beef ahead of pork whenever both species will be contacting the same equipment or other surfaces. If you ever hear some one use the term cross-contamination in reference to meat processing, the preceding type situation is what they are talking about.
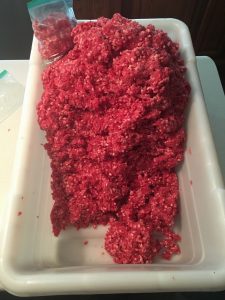
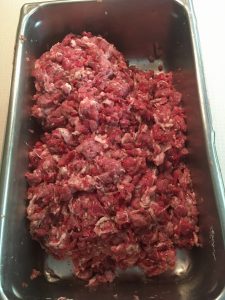
The chuck meat, and a few ice cubes, went once through a 3/16 inch hole size plate then was mix around a bit by hand.
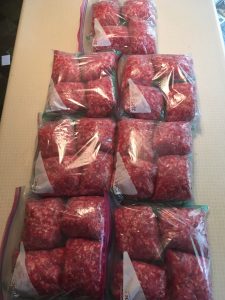
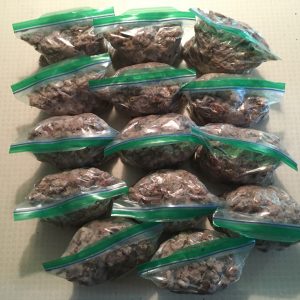
Ground chuck was packed into sandwich size bags that contained approximately 1 1/3 pounds each. Four sandwich size bags went into each gallon bag in order to achieve a reasonably tight double wrap. Then, all went into an upright freezer in a single layer.
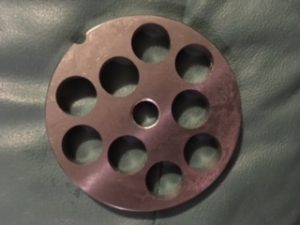
This is a 3/4 inch hole size plate for a 32 size meat grinder.
Butt and chuck meat went once through the 3/4 inch plate then was hand mixed with salt, sausage sodium phosphate and the boiled spice blend out of the refrigerator. Meat mix was then covered and placed back in refrigeration overnight.
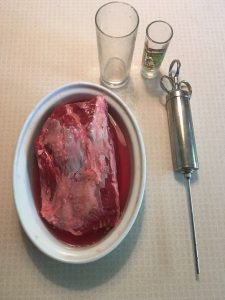
The one roast that was held out of freezer storage was pumped with a water, sodium phosphate and salt mixture then refrigerated overnight.
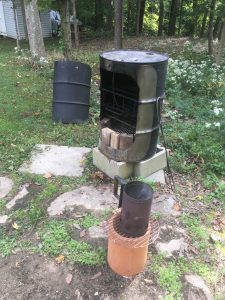
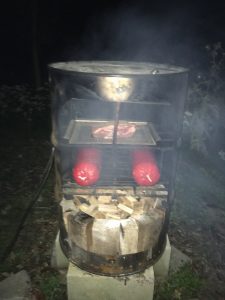
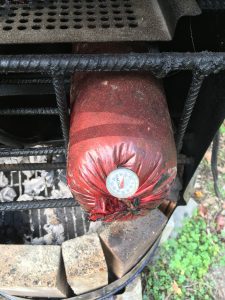
Wolfer smoke-cooker was set up the night before cooking and the cast iron boil-off dish was filled with water.
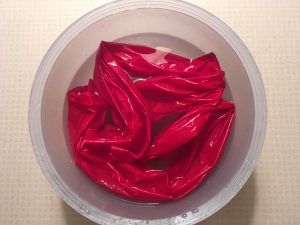
Early the next morning two large fibrous casings (bologna chub size) were soaked in a warm water, vinegar and light pink salt mixture. The little bit of cure was added in hopes of obtaining a nice faux smoke-ring on the exterior meat surface of the chubs.
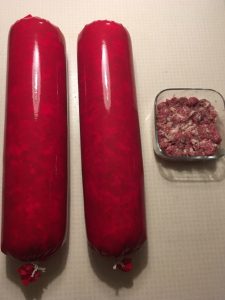
Large fibrous casings are big enough to easily stuff by hand. The ends were tied with roast string (cotton twine). There was a little meat mix leftover so I cooked it in a glass dish at 220F in the oven.
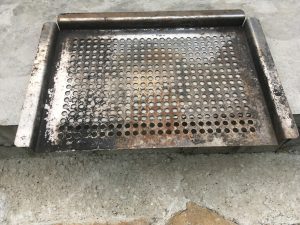
This is a rack for grilling fish. It was used to smoke-cook the pumped roast on.
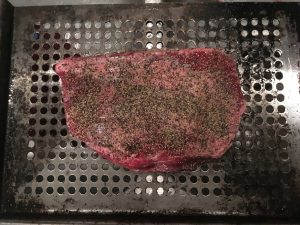
A little coarse ground black pepper was sprinkled on top of the roast just prior to cooking.
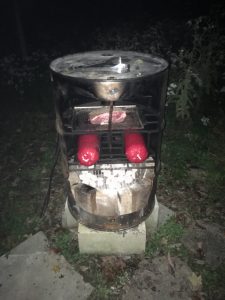
Meat was loaded into the smoke-cooker; while the 1st lit charcoal chimney full of briquettes was warming things up
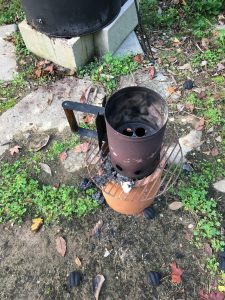
This is my little charcoal chimney set up.
A second charcoal chimney full of briquettes was partially lit, spread out on the fire grate then hardwood chunks were place on top. The cast iron water pan was check to make sure it was full then the cooker’s shroud was put in place for the duration of cooking.
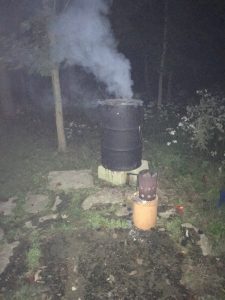
Got a lot of heavy hardwood smoke during the first hours; when meat was tacky enough to pick up smoke well.
While things were cooking along on their own I went inside and ate the coarse ground pork & beef mix that had earlier been put in the oven. It was so good that I ate a good bit of it before thinking to snap a picture.
The chubs got up around 180F internal when first checked after 5 1/2 hours. It was a quick cook and was likely due to the relatively small amount of meat in the cooker (capacity is 6 ten pound chubs) and the lower racks being closest to the primary heat source.
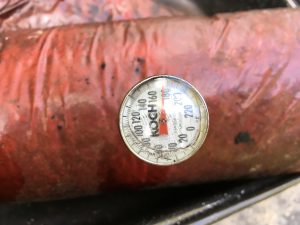
I took several temps to get an idea of how uniform cooking had been. All the P&B was within an 8 degree range. After chubs were pulled from the cooker they went into a covered roasting pan to rest for about an hour and a half.
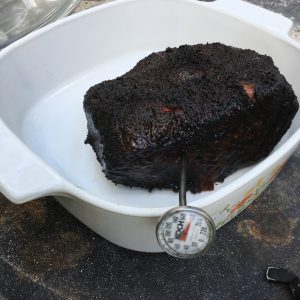
Just over an hour after pulling the chubs, the roast got up over 180F. 180F was sufficient since this cut is quite a bit more tender than brisket. Pulling from heat at lower temps also helps retain finished product moisture.

After resting, soot was rinsed off casings in a sink then casings were striped off. This pic shows lightly bound coarse ground meat out of the casings.
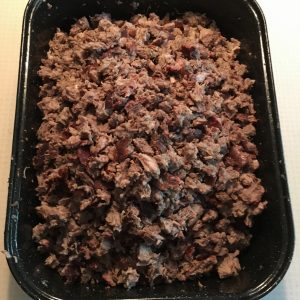
Chubs were easily hand pulled apart. Product was moist, has great flavor and was a pleasure to chew. I will however adjust the salt level a little lower next time. Salt addition is hard to judge because pretty much all retail pork comes meat plants enhanced with water, salt and an organic microbial inhibitor. This sausage – pulled meat item is versatile as BBQ, meat in Asian style dishes or in Chipotle like meals.
Precooked sausage – pulled P&B blend packed in sandwich size zip lock bags. Air was squeezed out as bags were being sealed.
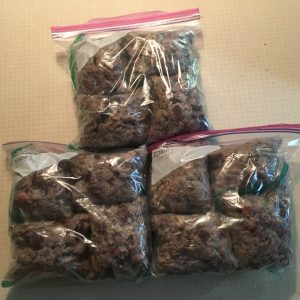
12 bags double wrapped and heading for freezer storage. The other two bags were eaten out of refrigeration. This frozen precooked P&B product quickly falls apart when exposed to a microwave thaw cycle.
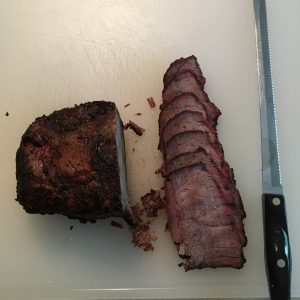
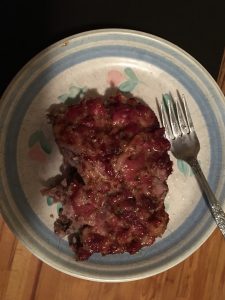
After letting it rest for a few hours, I scraped the soot and black pepper off the top of the roast and sliced it semi- thin using a bread knife. It made a great brisket substitute.
This pictorial shows worthwhile practices to save money, eat better and to have some high quality versatile P&B products conveniently in home freezer storage. There ain’t nothing to it but to do it.
Great post, thanks for sharing!
Thank you for reading it.