Why roll & smoke a brisket? I been wanting to try the practice because I thought that it could produce a worthwhile finished product and when a local supermarket chain offered a low sale price ($1.99 per pound) on whole (packer) briskets I decided to give it a try. Desirable attributes that made themselves evident along the way included: no waste of trimmed off lean (thin areas of lean were left attached), much more uniform cooking of this naturally irregular shaped cut, it’s harder to over-smoke product in a semipermeable cellulose casing, cooking time is reduced when using casings (retained moisture speeds the gelling of collagen at a given cooking temperature), the flat and point cuts are separated (points eats better when cooked to higher temps than the flat), casings help hold cure-water on the exterior of cooking roasts to facilitate the formation of a faux smoke-ring, no undesirable partially rendered seam fat between the 2 different brisket muscles is left in cooked slices, greatly facilitates the slicing of both roasts across the grain, no need to trim external fat layers off slices of cooked meat, slices of rolled & cooked brisket fit nicely on sandwiches and casings keep soot/fly-ash from adhering to the surface of end-products. .
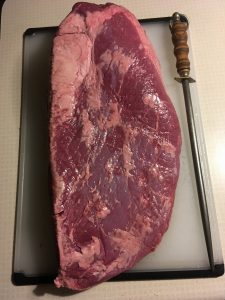
The brisket section of the meat case was empty when I went to the store looking to buy. Therefore, I had to ask for one in the 12 to 13 pound weight range. The service counter butcher eventually brought 2 out to chose from. I accepted this pictured 13.4 pounder, even though the flat was quite long and tapering.
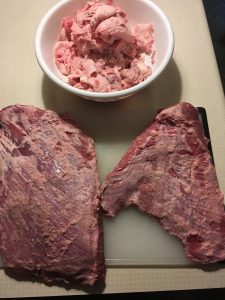
Here you see one side of both the separated flat and point; plus all the fat trimmings. Fat amounted to fully 1/3 of the weight of the starting brisket; so the price of usable starting raw meat went up from $2 to $3 a pound. Additionally, the slightly less saturated beef fat from briskets could be put to good use in sausage production – at something like a deli or restaurant enterprise.
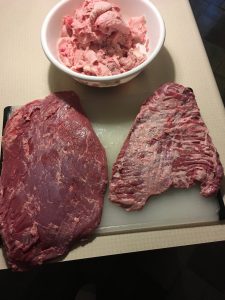
The other side of the closely trimmed brisket cuts.
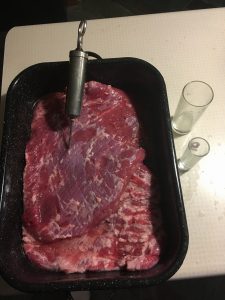
4 cups of cold water were put in a bowl, the proper amount by weight of roast sodium phosphate was dissolved into it; then the correct measurement of purified salt was mixed in to complete the pumping brine. This type of hand brine pump works well for home usage. Just remember to run hot water over the rubber o-ring right before starting to pump brine. That practice routinely makes for a tight seal between the pump piston and the pump cylinder wall. A tall slender glass and a tall shot glass (pictured) can both be used to facilitate sucking brine into the hand pump; once the supply of solution starts to run low.
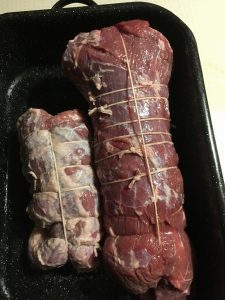
Both the flat and point cuts were rolled & tied so that the direction of meat grain ran the length of the rolled roasts. Surprisingly to me, the thick end of the flat on the deckle side was hard to roll up. It almost felt bone-like, but when rolled forcefully it finally did roll reasonably well. For a very simple illustration on tying a butcher’s knot (Click Here). You won’t see it in the linked illustration, but only the end of the string that loops over the roast has to be cut from the ball of twine prior to tying a butcher’s knot. And, after closely trimming the string ends of each knot you one has another lose end to start another knot with.
Soak large bologna chub size large fibrous casings in warm water for about 1/2 before stuffing the roasts into them. Use a large mixing bowl as a container. I add 1 tsp. of Prague Powder # 1 to the soak water in an effort to produce a faux smoke ring on the finished product’s surface.
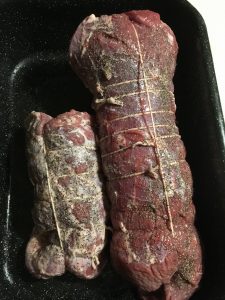
Splash some of the cure infused casing soak water on the roasts just prior to stuffing. Lastly, generously sprinkle or rub black pepper on the exterior surface of each roast.
It was a tight fit to get one end of the flat cased. Starting whole (packer) briskets in the 12 to 13 pound range are about as big as you want to buy when using this preparation technique. There are cellulose ham casings, but they are too big to snuggly fit even the largest properly rolled brisket cuts.
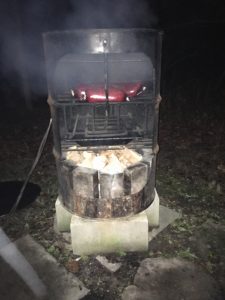
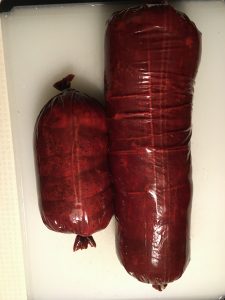
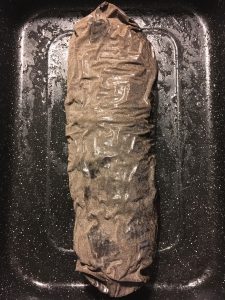
Both brisket cuts in the smoke-cooker at the start up of the smoking phase.
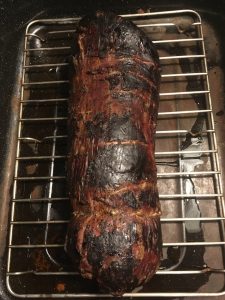
I had intended to smoke both cuts for 8 hours, but when I opened the smoke-cooker after 6 hours for a coal distribution check I saw that the smaller point had slipped down onto the lower rack and was closer to the heat source. Being smaller than the flat roast, one would expect the point to cook quicker. And, that’s OK because due to the fatty nature of the point it eats well when finished cooked to higher temperatures than the flat. Still, as you can see here, the point was already at 190F internal after 6 hours in the smoke-cooker. It was pulled at that time and finished cooked on a rack in a covered oven roaster at 250F for 1/2 hour; at which time the point cut reached 210F internal. After stirring the coals the smoke-cooker was reclosed; with the rolled & cased flat still in it.
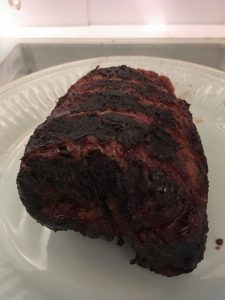
The finish cooked point roast.
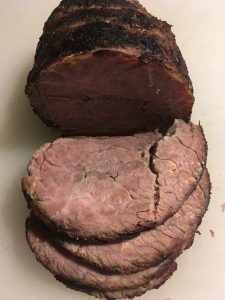
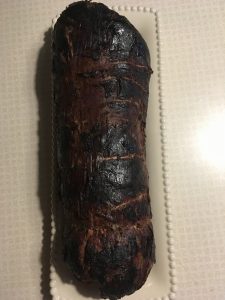
Partially chilled point slices. I had gone with a long smoke cycle because smoke uptake through casings is slower, but this entire finished brisket was border line too smoky. In the future, I’ll cut back on the smoke-cooker time. A faux smoke ring failed to develop this time around; likely because I forgot splash cure containing casing soak water onto the roasts at stuffing time.
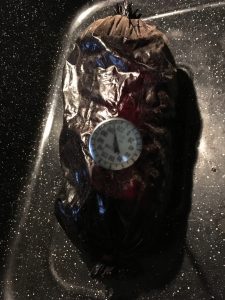
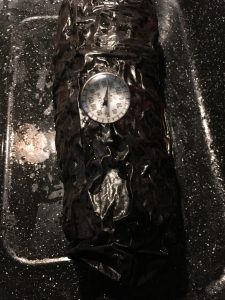
The still cased flat right after 8 hours of smoke-cooking.
Cased flat with soot rinsed off; reading 180F internal.
Casing striped flat (now round) heading into a 250F oven.
The flat hit 210F after just 45 minutes of oven steam cooking. A closed roasting pan rapidly make for steam generation and a cooking rack keeps meat up out of purged liquids. Letting meat cook sitting in liquid can facilitate the development of undesirable washed-out/water-cooked end-product characteristics.

Partially chilled brisket flat slices.